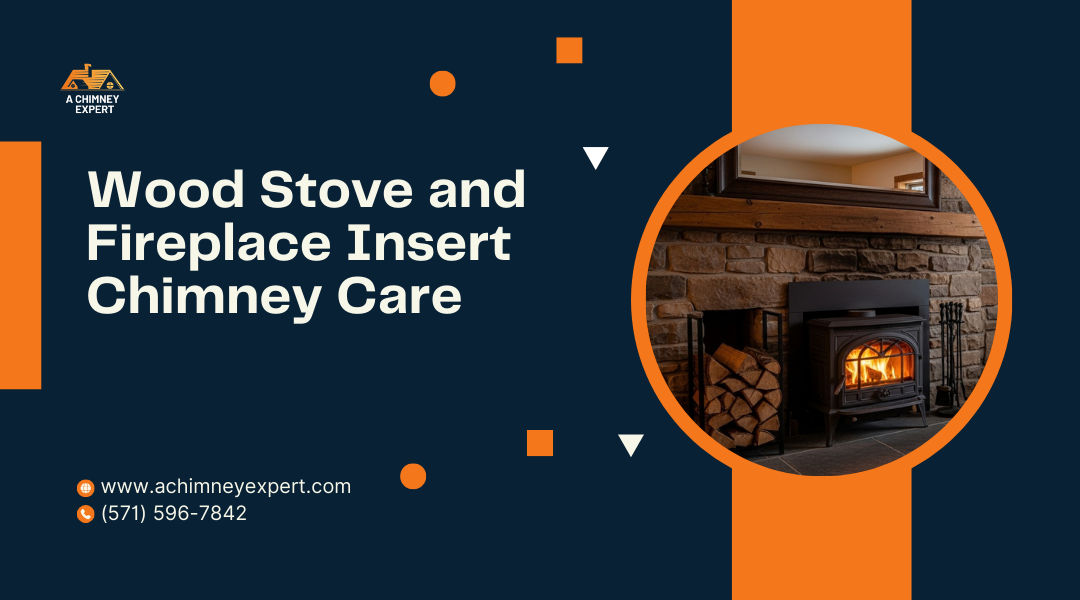
Wood stoves and fireplace inserts deliver reliable heat and comfort, but they depend on proper chimney care to work safely. Your chimney system removes dangerous gases and prevents creosote buildup that can lead to chimney fires, making regular maintenance one of the most important safety steps you can take as a homeowner. Many people think of chimney care as a simple annual task, but the reality involves understanding how your specific system operates and what factors affect its performance.
This guide walks you through the technical aspects of wood stove and insert chimneys, from how creosote forms in your flue to what inspectors look for during evaluations. You’ll learn about the structural differences between these systems and traditional fireplaces, see what common failure points exist in Sterling, VA chimneys, and understand how to balance maintenance schedules with actual risk levels. Whether you burn wood daily or just a few times per season, knowing how your chimney works helps you make better decisions about its care.
The information ahead comes from decades of field experience with thousands of chimney systems across Northern Virginia. You’ll get practical insights based on real conditions, not just general advice, so you can protect your home and family from preventable hazards.
System Boundaries Of Stove And Insert Chimneys
Understanding where your stove or insert system begins and ends helps you plan better fireplace maintenance and spot problems early. The boundary includes everything from the firebox to the chimney cap, with each component requiring specific care based on its design and materials.
Flue Configuration And Draft Pathways
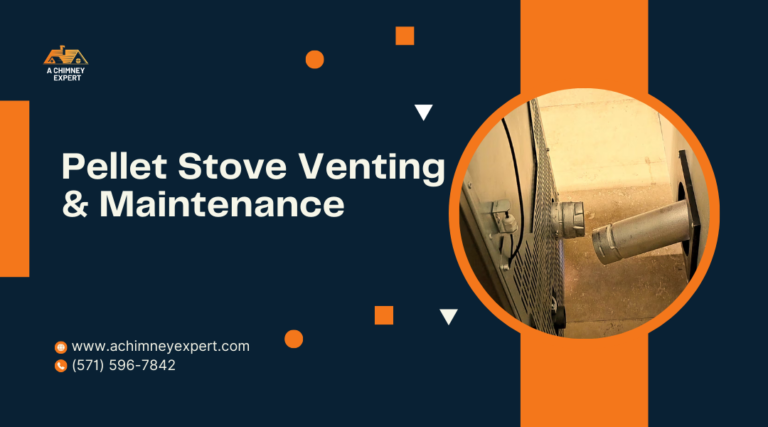
Your wood stove and fireplace insert use different flue configurations that directly affect damper operation and draft performance. A freestanding wood stove connects to the chimney through a stovepipe that runs directly up or sometimes horizontally before turning vertical. A fireplace insert slides into your existing fireplace opening and uses the original chimney with a liner running through it.

The draft pathway in a freestanding stove is typically more direct. The stovepipe creates a straight path for exhaust gases to rise through the chimney. With an insert, the flue gases must travel around the damper area where your old fireplace damper used to sit. Many installers remove or permanently open the original damper during fireplace insert maintenance to avoid blocking the liner.
Key differences in draft pathways:
- Stove systems: Gases rise directly from the firebox through straight pipe sections
- Insert systems: Gases flow through a narrower liner tube that runs inside the existing chimney structure
- Damper location: Stoves have their own air control dampers built into the unit, while inserts bypass the original fireplace damper entirely
Your insert’s liner creates a smaller diameter flue path than the original fireplace chimney. This smaller space actually improves draft by keeping gases hotter as they rise. Poor draft causes smoke to enter your room instead of going up the chimney.
Liner Materials And Heat Tolerance
The liner material in your system determines how hot the flue can safely get and how often you need to perform wood burning fireplace maintenance. Stainless steel liners handle the high temperatures from wood stoves and inserts better than clay tile liners found in older chimneys.
Common liner materials and their properties:
| Material | Maximum Temperature | Durability | Best Use |
|---|---|---|---|
| 316Ti Stainless Steel | 2100°F continuous | Excellent corrosion resistance | Wood stoves and inserts |
| 304 Stainless Steel | 1700°F continuous | Good for most applications | Lower-temperature appliances |
| Clay Tile | 1800°F | Cracks from thermal shock | Traditional masonry fireplaces |
| Cast-in-Place | 2000°F | Seamless protection | Relining damaged chimneys |
Stainless steel liners flex slightly during heating and cooling cycles without cracking. Clay tiles can crack when exposed to the intense heat cycles from wood stoves. These cracks let creosote seep behind the liner where you cannot clean fireplace glass or inspect it properly.
Your insert requires a liner that fits snugly inside the existing chimney. The liner must match the insert’s outlet diameter, typically 6 inches. Using the wrong size liner creates draft problems and increases creosote buildup.
Appliance Design Differences That Affect Care
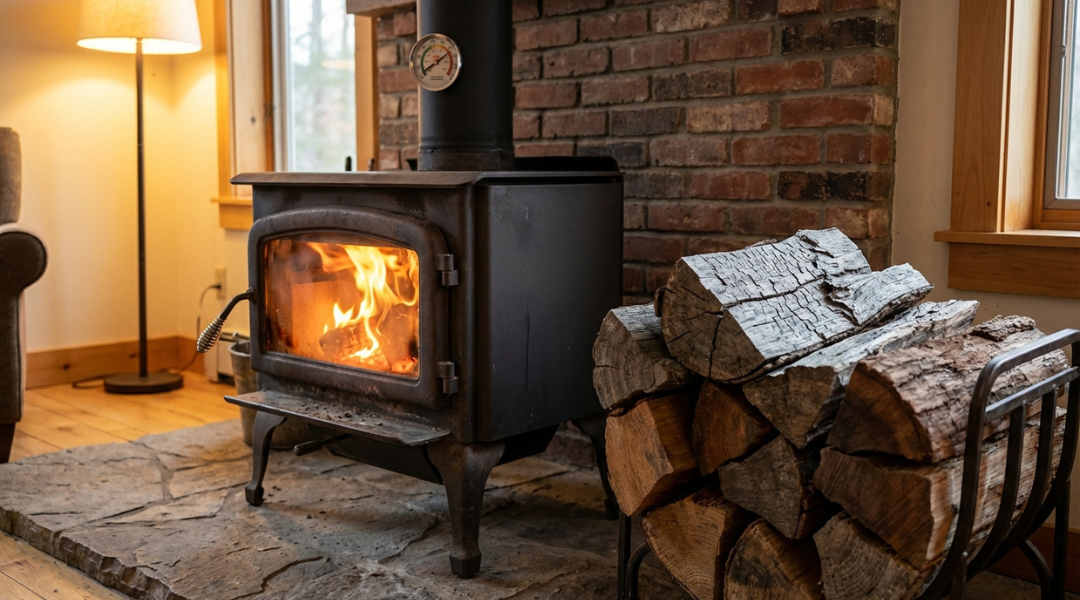
Your wood stove and fireplace insert have different designs that change how you approach fireplace insert maintenance. A freestanding stove sits away from the wall with accessible sides, back, and top. An insert fits tightly into the fireplace opening with only the front exposed.
Access for cleaning differs significantly between these appliances. With a stove, you can brush the chimney from the top or bottom and easily reach all pipe connections. For an insert, you typically must clean from the bottom up because the liner runs through the existing chimney structure. You need to remove baffles or burn plates inside the insert to reach the liner opening.
Maintenance access points:
- Freestanding stoves: Remove pipe sections at any joint for inspection
- Inserts: Access only through the firebox after removing internal parts
- Glass cleaning: Both types have front glass doors, but insert glass often needs more frequent cleaning due to tighter firebox design
The sealed combustion chamber in modern inserts makes them burn hotter and cleaner than traditional open fireplaces. However, this design also means creosote can form faster on the glass. You need to clean fireplace glass more often on inserts, sometimes weekly during heavy use.
Your insert’s blower system sits between the insert body and the fireplace surround. This fan requires separate maintenance from the chimney system. Stoves may have optional blowers, but they mount externally where you can access them easily. Check your insert’s blower annually for dust buildup and bearing wear as part of regular fireplace maintenance.
Creosote Formation And Venting Dynamics
Creosote accumulates in your chimney through a combination of temperature conditions, airflow patterns, and how often you use your wood stove. Understanding these factors helps you control buildup and maintain a safer heating system.
Combustion Temperature And Fuel Moisture
The moisture content of your firewood directly affects how much creosote forms in your chimney. Wet or unseasoned wood contains over 20% moisture, which creates cooler fires that produce more smoke and unburned gases. These gases condense on your chimney walls as creosote.
Seasoned firewood burns hotter and cleaner because it has dried for at least six months to a year. Your flue temperature should stay above 250°F to prevent condensation. When you burn wet wood, the water turns to steam and cools the flue, causing tar-like deposits to stick to the chimney lining.
Modern stoves with a catalytic combustor can complicate this because they burn so efficiently that less heat goes up the flue. You need to monitor your flue temperature more carefully with these units. A stovepipe thermometer shows you when temperatures drop into the danger zone for creosote formation.
Airflow Restriction And Deposition Patterns
Restricted airflow causes incomplete combustion and heavy creosote deposits. When you close the damper too much or run small fires with limited oxygen, smoke lingers in the chimney longer. This extended contact time lets more creosote settle on the flue walls.
An oversized chimney creates similar problems because smoke moves slowly through the larger space. The gases cool down before exiting, which leads to condensation and buildup. Cracks or blockages in your flue also disrupt proper airflow.
You should keep air vents open enough to maintain an active flame. Smoldering fires produce the most creosote because combustion stays incomplete. The pattern of deposits often concentrates at cooler spots in the chimney, especially near bends or the top where outside air cools the flue.
Seasonal Usage Intensity Effects
Heavy winter use accelerates creosote accumulation compared to occasional spring or fall burning. When you run your stove daily for months, deposits build up faster even with proper burning techniques. You might need professional cleaning twice per year if you burn wood as your primary heat source.
The type of creosote also changes with usage patterns. Stage 1 creosote appears as flaky soot that brushes off easily. With continued use, it hardens into Stage 2 (shiny, tar-like) and Stage 3 (dense, glazed coating). Stage 3 requires professional removal because standard brushes cannot remove it.
Your cleaning schedule should match your burn rate. Light users who burn a few cords per season can often get by with annual inspections. Homes that burn five or more cords need mid-season cleaning to prevent dangerous buildup levels.
Inspection Standards And Failure Indicators
NFPA 211 defines three levels of chimney inspection, with Level One covering routine annual checks during regular cleanings. Understanding what separates normal wear from dangerous deterioration helps you know when repairs are urgent versus when maintenance can wait.
Structural Deterioration Versus Surface Wear
Structural problems in your chimney threaten your home’s safety, while surface wear is mostly cosmetic. Cracks in the firebox that extend through the brick or mortar create paths for heat to reach combustible materials in your walls. These gaps form from hearth settlement or chimney movement and require immediate repair.
Surface discoloration, light sooting on bricks, or minor mortar wear don’t create fire hazards. Common brick used in fireboxes instead of refractory brick presents a real danger because it absorbs moisture and can explode during hot fires. Steel components in older heatilator-style fireplaces rust out after 20-25 years, especially at the smoke shelf where water collects.
Check for sagging or damaged hearth support. Your hearth extension should reach at least 18 inches past the fireplace opening. Visible wood framing near the ash dump or damper creates a fire path that needs removal by a mason or certified chimney sweep.
Liner Separation And Insulation Breakdown
Chimney liner separation happens when the clay tiles crack or pull away from surrounding masonry. These breaks allow heat and gases to escape into walls and attic spaces. Cross-vents between different chimney flues let dangerous carbon monoxide move from heating appliances into your living areas.
A chimney sweep can use a mirror at the cleanout opening to spot cracks looking upward. You might hear your furnace or boiler running when you stand near your fireplace if flues connect improperly. Strange odors or smoke entering through your fireplace when the heating system runs indicates liner problems.
Rust stains on your damper or inside the firebox signal water entry from above. Chimney leaks damage the liner structure over time. Professional inspection with a camera reveals the full extent of damage that you can’t see from either end of the chimney.
Odor, Smoke, And Draft Anomalies
Poor draft and smoke backing into your room indicate blocked airflow or inadequate combustion air supply. Your damper must open fully and close tightly. Check that ash dump cleanout doors seal properly or draft suffers from air leaking at the wrong spots.
Creosote buildup creates fire risk and restricts airflow. Dark smoke stains on walls near your fireplace show insufficient combustion air or draft problems. Some newer homes require dedicated outdoor air supplies to meet code requirements for fireplace operation.
Shared ash dumps between fireplaces and heating appliances create dangerous draft interference. Your fireplace flue must stay completely separate from furnace or boiler flues. Listen for unusual sounds and check for temperature changes around the chimney exterior during operation.
Field Observations From Sterling, VA Chimneys
Sterling’s location in northern Virginia creates specific challenges for chimney systems. The area’s climate patterns and building codes shape how chimneys perform and deteriorate over time.
Climate-Driven Moisture Intrusion Patterns
Sterling receives about 40 inches of rain annually, with moisture affecting both masonry and metal chimney components. Rain often enters through damaged chimney caps or deteriorated crowns. Water penetration increases during spring storms when wind-driven rain hits exposed chimney structures.
Your chimney’s exposure to moisture creates rust on metal components and erodes mortar joints. The humid summers in Sterling keep masonry damp for extended periods. This moisture doesn’t always dry completely before the next rain event.
Winter precipitation brings additional concerns. Snow accumulates on chimney tops and melts slowly. The meltwater seeps into small cracks and openings. Ice dams can form where the chimney meets the roofline, forcing water under flashing.
Proper chimney caps and well-maintained crowns prevent most moisture problems. Regular inspections catch early signs of water damage before major repairs become necessary.
Masonry Movement In Mid-Atlantic Freeze Cycles
Sterling experiences 85-100 freeze-thaw cycles each winter. Water trapped in masonry expands when it freezes. This expansion creates pressure inside bricks and mortar joints.
Older chimneys in Sterling show characteristic cracking patterns from repeated freezing. Vertical cracks appear along mortar joints first. Horizontal separation develops between brick courses as damage progresses. Clay flue tiles crack internally before visible exterior damage appears.
Your chimney’s south-facing side often shows more deterioration. The freeze-thaw action intensifies where sun exposure causes rapid temperature changes. Spalling bricks lose their outer surface in sheets or chunks.
Chimneys built before 1980 often lack proper clearances or adequate liners. The combination of age and freeze damage accelerates deterioration in these structures.
Code Expectations Influencing Installation Norms
Sterling follows Virginia building codes based on NFPA 211 standards. Inspectors check clearances to combustible materials during installations. Your new chimney system needs proper permits and inspections.
Local installers must maintain two inches of clearance for insulated stainless steel chimneys. Single-wall stove pipe requires 18 inches from combustibles. Masonry chimneys need a two-inch air space from wood framing.
Recent code enforcement has tightened relining requirements. Any fireplace insert installation requires a stainless steel liner sized to match the appliance. Inspectors verify proper cap installation and adequate support brackets.
Professional certification matters in Sterling’s competitive service market. NFI and CSIA credentials demonstrate technical knowledge that meets local expectations.
Maintenance Intervals, Risk, And Tradeoffs
Finding the right balance between regular maintenance and over-servicing saves money while keeping your wood stove or fireplace insert safe. Each decision about repair methods and inspection frequency affects both immediate costs and long-term system performance.
Frequency Versus Over-Servicing Considerations
Annual chimney cleaning is the baseline standard for wood stoves and fireplace inserts used regularly. If you burn more than 60 fires per season or use softwoods that create more creosote, you need twice-yearly cleanings. A professional chimney sweep uses specialized chimney brush tools to remove dangerous buildup that ash removal alone cannot address.
Monthly ash removal between professional visits prevents airflow restrictions and helps you spot problems early. Remove ash when it exceeds one inch deep, leaving a thin base layer for insulation.
Over-servicing wastes money without adding safety benefits. You do not need quarterly chimney cleaning unless you burn wood daily throughout winter. Some homeowners schedule unnecessary inspections based on fear rather than actual usage patterns.
Track your burn frequency to determine your real needs. Light users who burn fewer than 30 fires annually often get by with inspection every 18 months, though annual checks remain safer.
Relining Versus Continued Patch Repair
Chimney liners deteriorate from heat cycles and acidic condensation. Small cracks allow heat transfer to combustible framing, while gaps let toxic gases into your home.
Patch repairs cost $200-500 but only delay the inevitable if damage exceeds 20% of the liner surface. Relining with stainless steel costs $2,000-4,000 but provides 15-30 years of protection. Clay tile repairs might hold for 2-5 years before requiring full replacement.
Consider relining when multiple repairs accumulate within three years. The upfront cost prevents dangerous failures and eliminates repeated service calls. Your professional chimney sweep can assess whether localized damage justifies patching or signals systemic failure.
Safety Margins And Long-Term System Stability
Safe operation requires clearances of 18 inches from combustible walls for most wood stoves. Reduced clearances using approved heat shields still demand careful monitoring.
Regular chimney cleaning maintains draft efficiency and prevents the 1,000-degree chimney fires that occur when creosote ignites. These fires can destroy liners and spread to structural components within minutes.
Long-term stability depends on addressing minor issues before they cascade. A small crack in the firebox grows into a dangerous gap. A partially blocked flue creates carbon monoxide risks that worsen each season.
Schedule your annual inspection in late summer before heating season begins. This timing allows repairs without rushing and ensures your system operates safely when you need it most.